
トイカメラ風の写真のポイント
通常の写真をトイカメラ風にするには
- 彩度の高さ
- ノイズ
- 四隅の光量落ち
- ぼかし
- 色被り
がポイントになってきます。
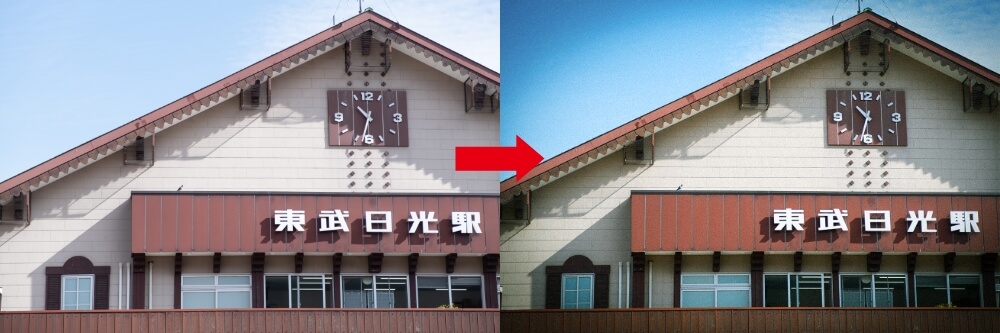
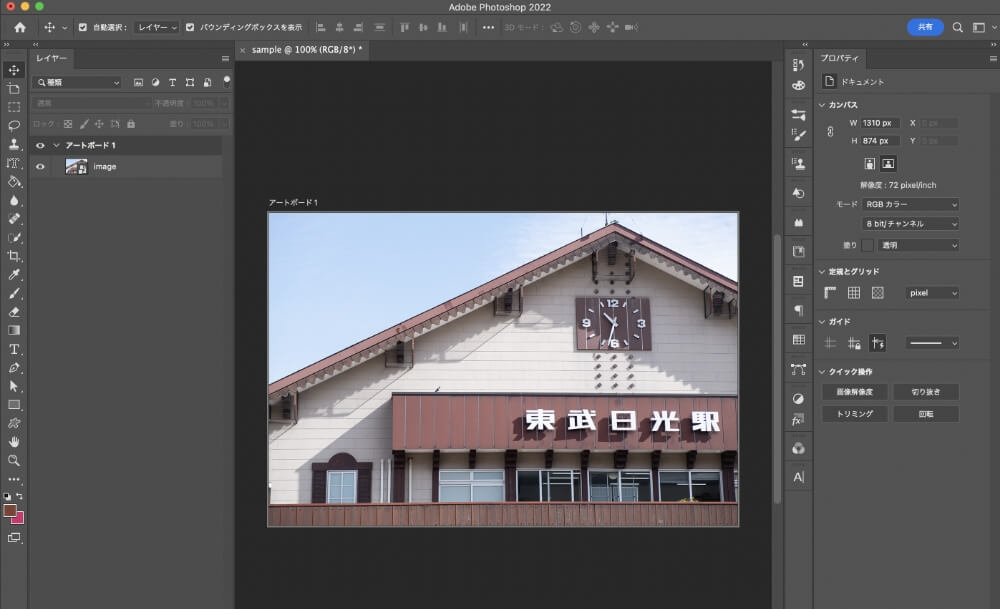
今回はこちらの写真をトイカメラ風に加工していきます。
やってみましょう!
トイカメラ風写真の作り方
Photoshopを開き、加工したい画像を配置します。
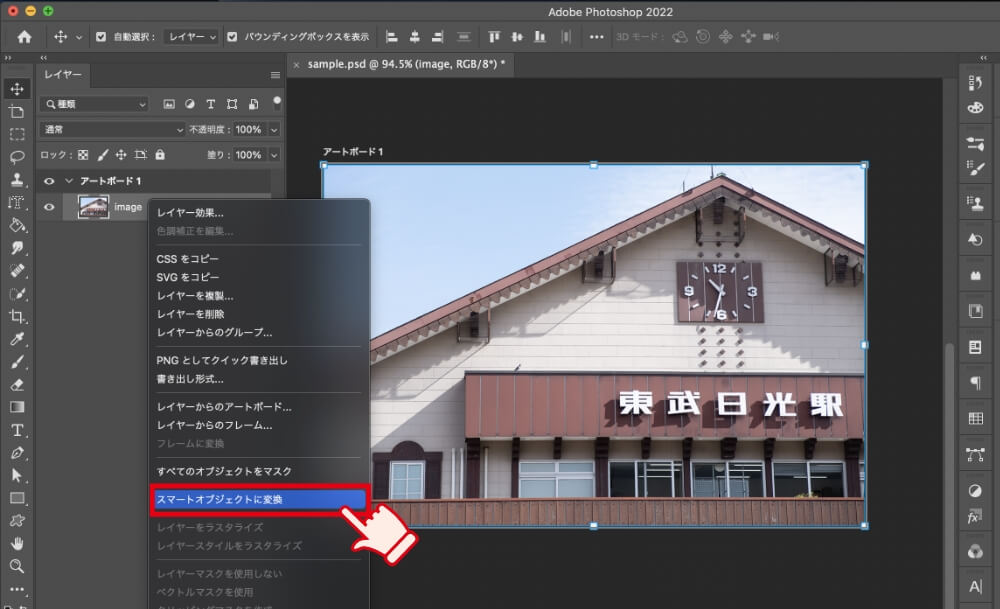
もし画像がスマートオブジェクト化されていない場合は、レイヤーを右クリック>「スマートオブジェクトに変換」でスマートオブジェクト化させてください。
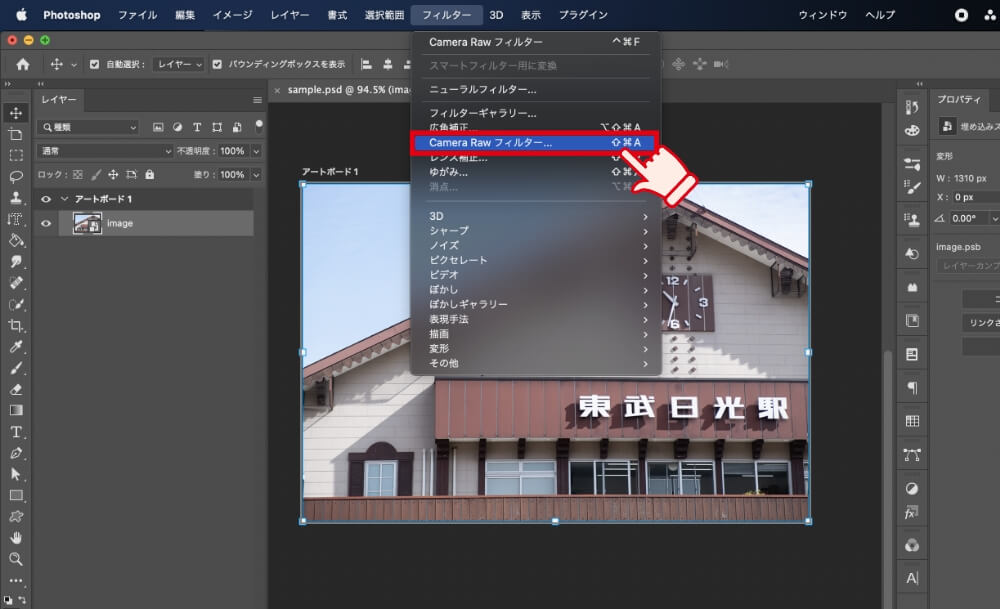
Camera Rawフィルターを使用し、彩度と周辺光量を調整しノイズを加えていきます。
写真のレイヤーを選択した状態で、メニューバーの「フィルター」>「Camera Rawフィルター」を選択します。
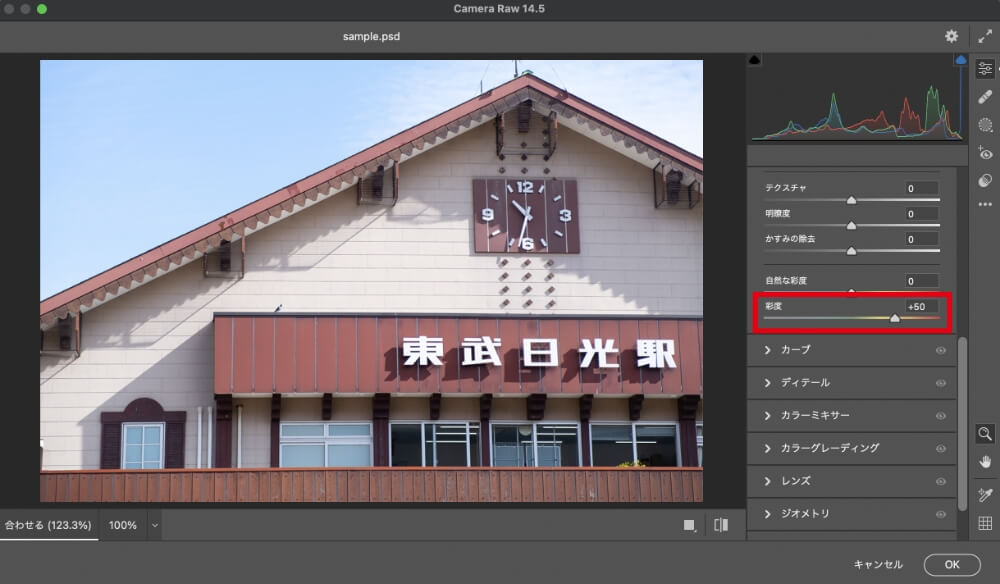
調整のパネルが出てくるので、彩度を上げていきます。
「基本補正」のタブを開き、彩度を+50に変更します。
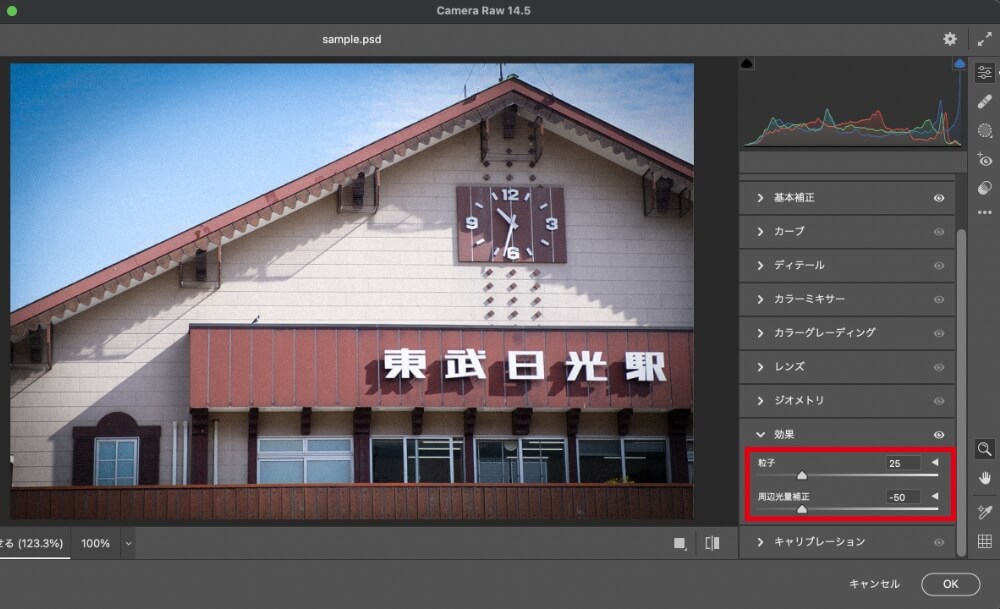
次に「効果」のタブを開きます。
「粒子」を25にし、ノイズを追加します。「周辺光量矯正」を-50にし、四隅の光量を落として暗くします。
次に中心以外にぼかしをかけていきます。
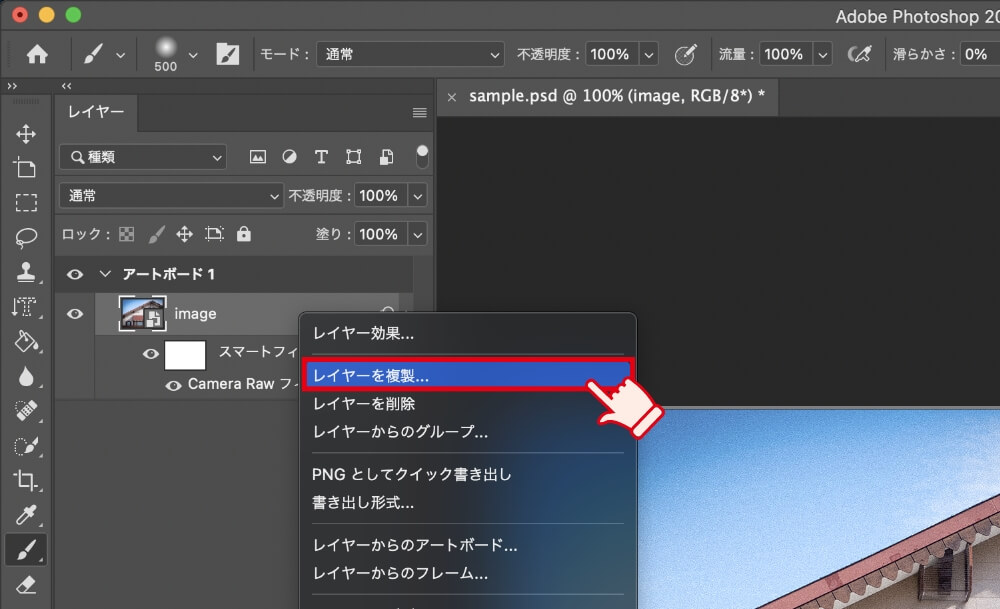
まず画像レイヤーを右クリックし、「レイヤーを複製」を選択します。
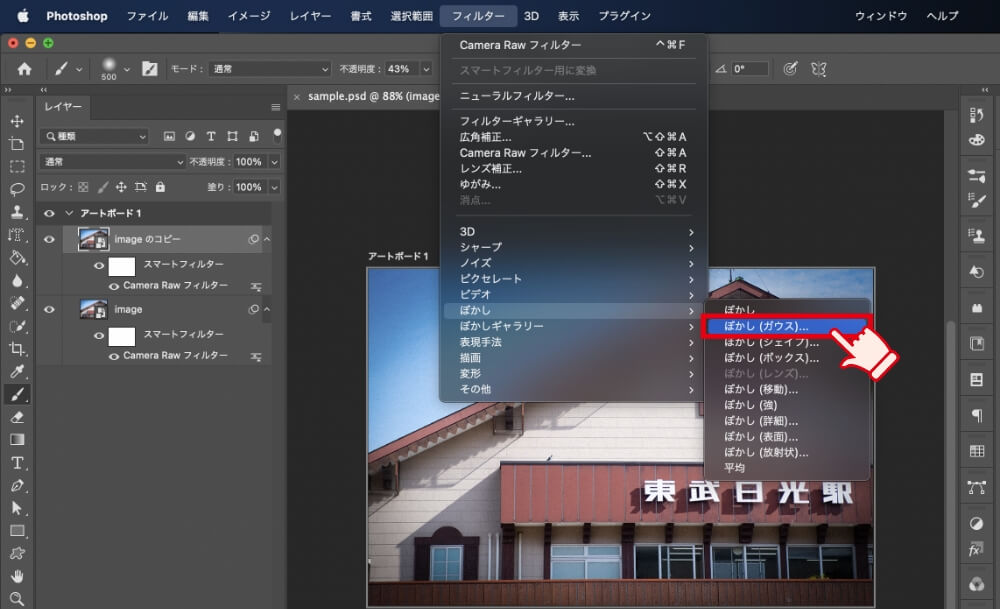
レイヤーの複製が完了したら、複製したレイヤーにぼかしをかけていきます。
メニューバーの「フィルター」>「ぼかし」>「ぼかし(ガウス)」を選択します。
ぼかしの量を調整するパネルが出てくるので、数値を変更してちょうどいいぼけ具合にします。
今回は3pxとしました。

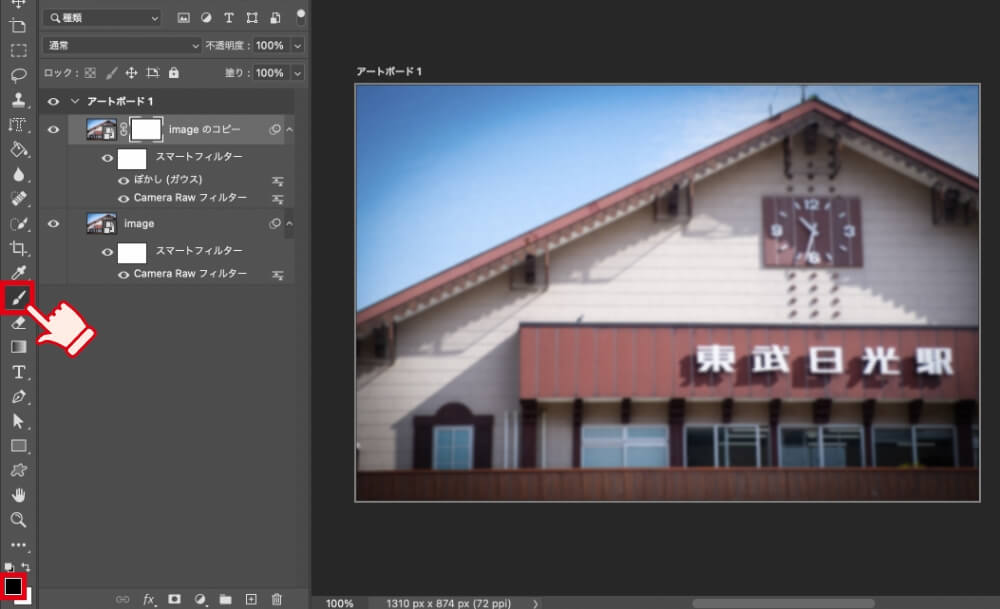
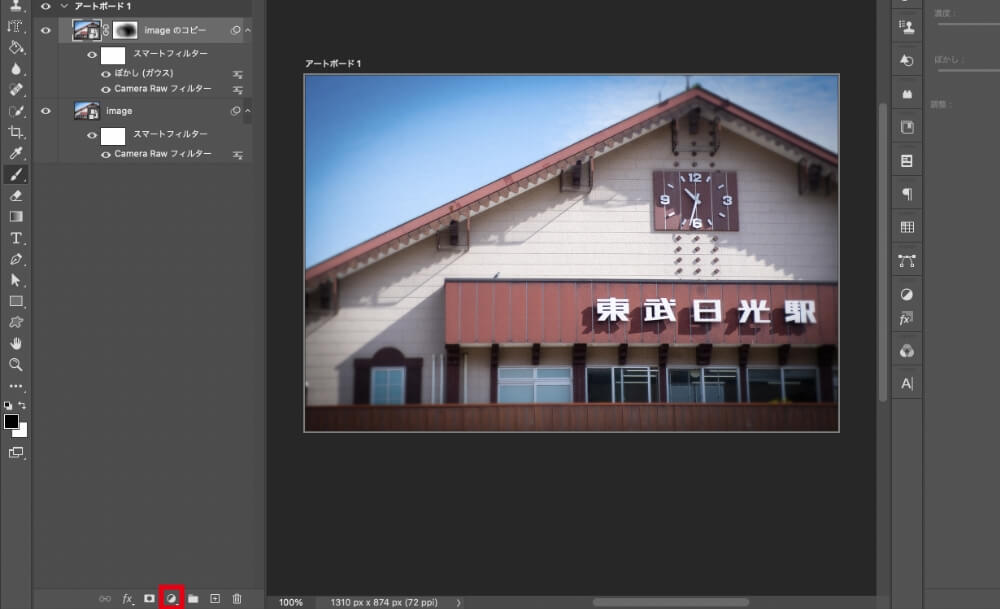
次にぼかしをかけたレイヤーにマスクをかけて、中心部分のぼかしを消していきます。
写真レイヤーを選択した状態で、レイヤーレイヤーパネルの下の「マスクを追加」をクリックし、マスクをかけます。
ツールパネルの「ブラシ」を選択します。ショートカットキーはBです。
このとき、ブラシの色が黒色になっているか確認してください。
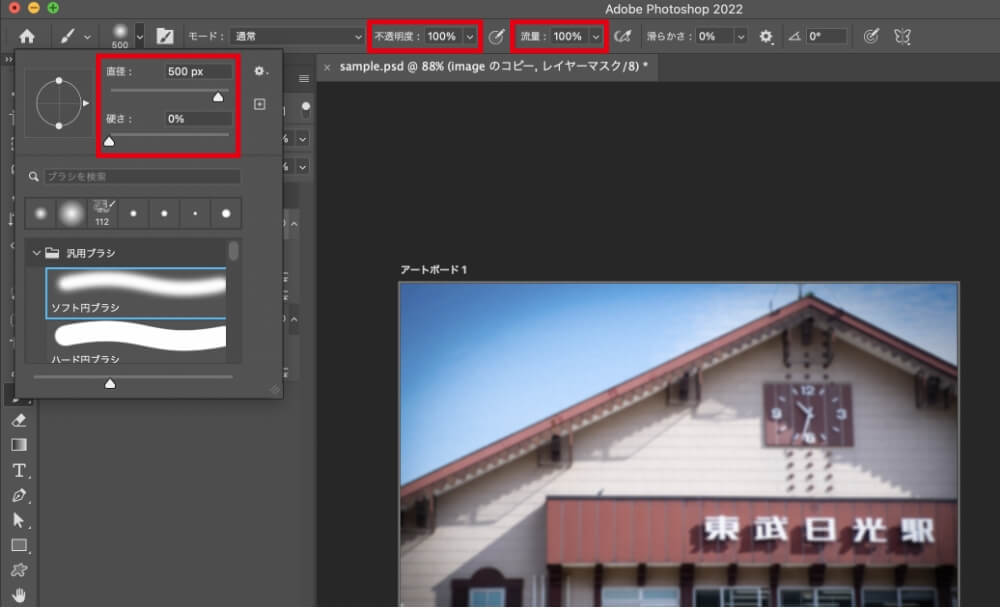
今回はブラシの直径を500px、硬さを0%、不透明度と流量は100%としました。
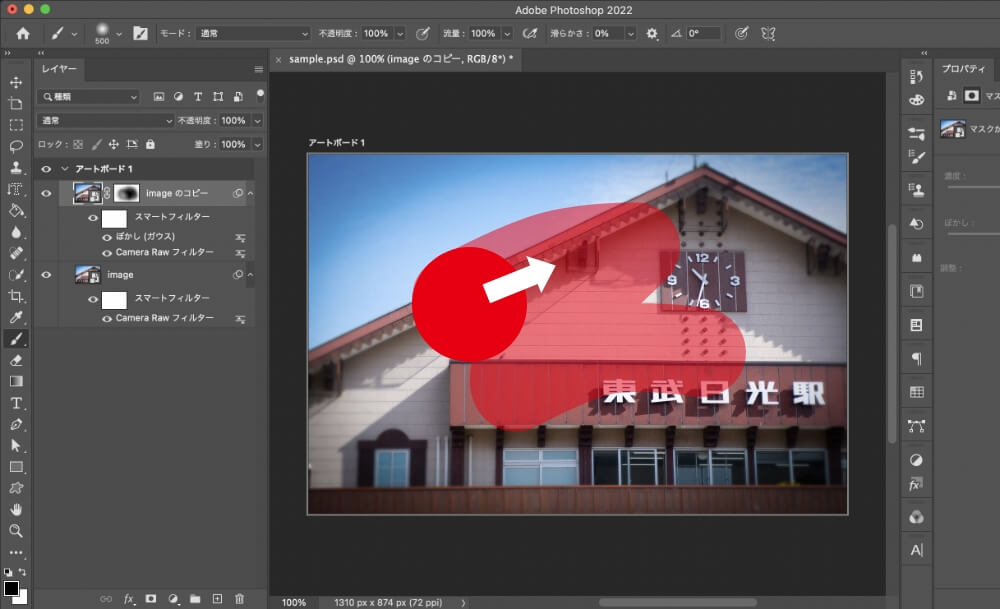
ぼかしたくない箇所(中心部分)をブラシで塗っていきます。
このとき、必要に応じてブラシの直径や不透明度、流量を調整しながら作業を行っていきましょう。
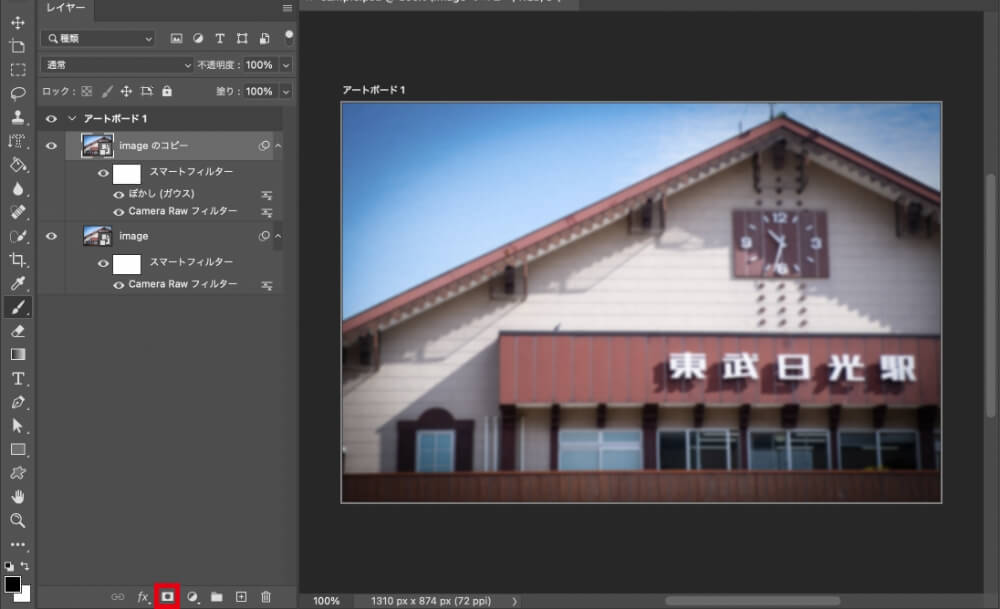
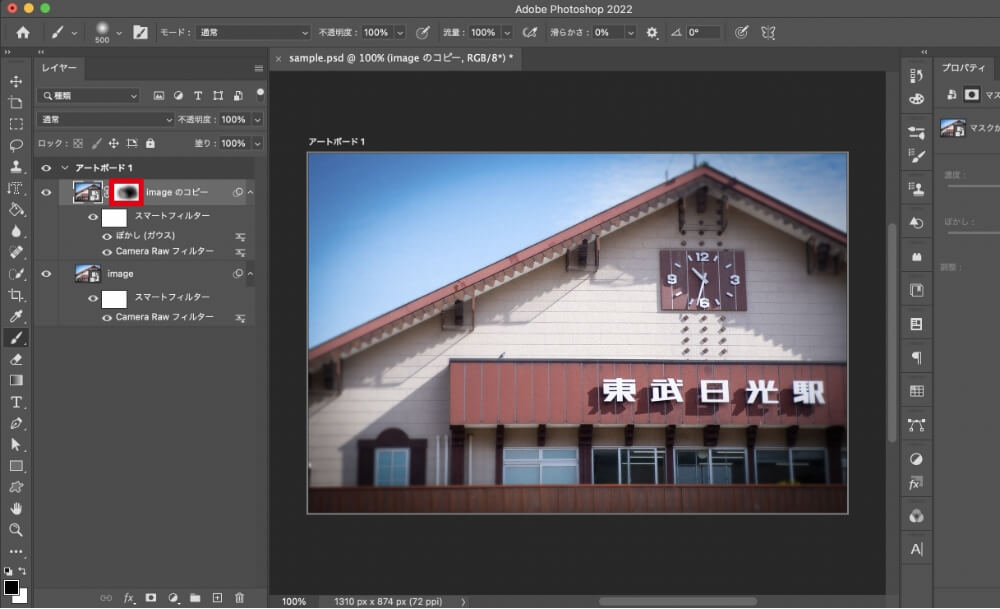
レイヤーマスクのサムネイル(赤枠箇所)の黒く塗りつぶされた部分がぼかしが適用されていない箇所です。
これで中央以外の部分にぼかしをかけることができました。
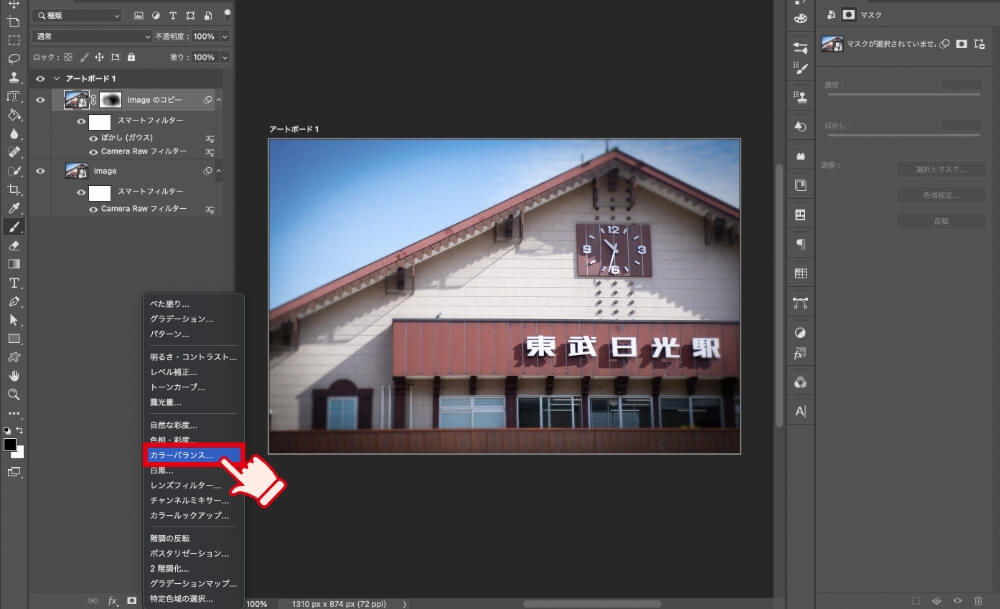
「カラーバランス」でシアンと黄色の色味を強くしていきます。
レイヤーパネルの下の「新規調整レイヤーを追加」をクリックします。
「カラーバランス」を選択します。
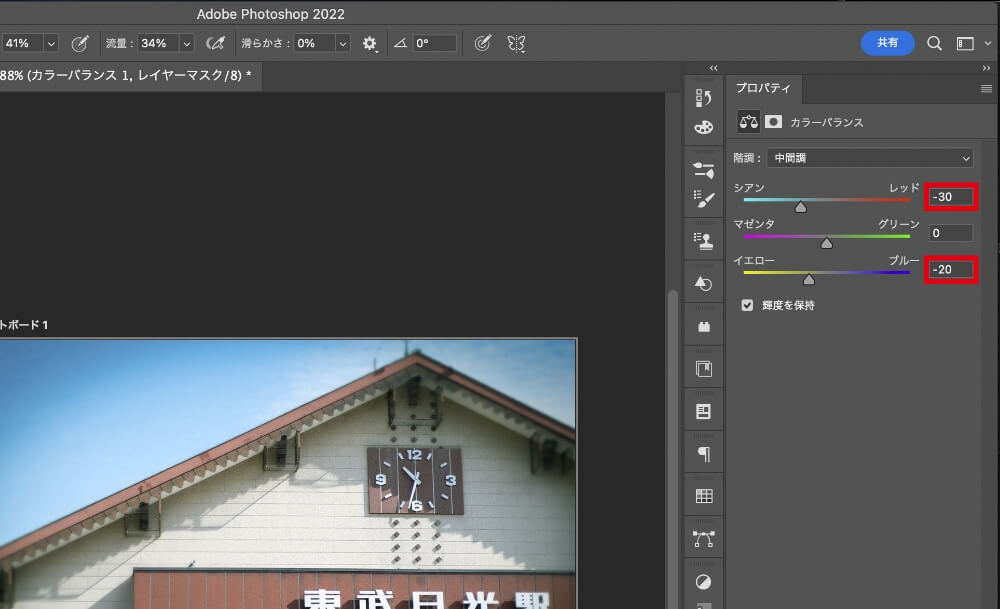
カラーバランスを調整するパネルが出てくるので、シアン・レッドの数値を「-30」に、イエロー・ブルーの数値を「-20」に変更します。
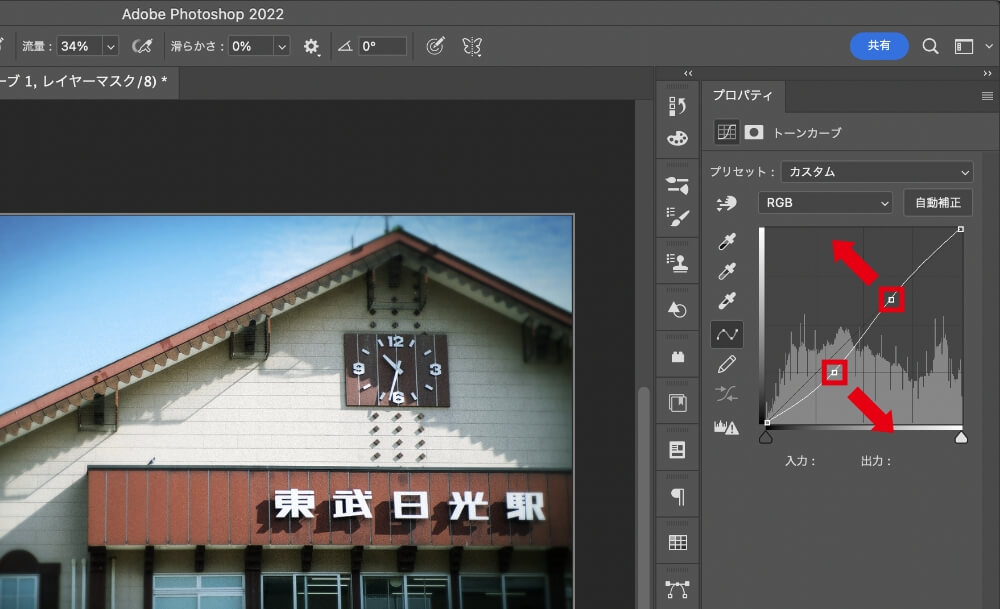
最後に「トーンカーブ」でコントラストを強めます。
レイヤーパネルの下の「新規調整レイヤーを追加」をクリックします。
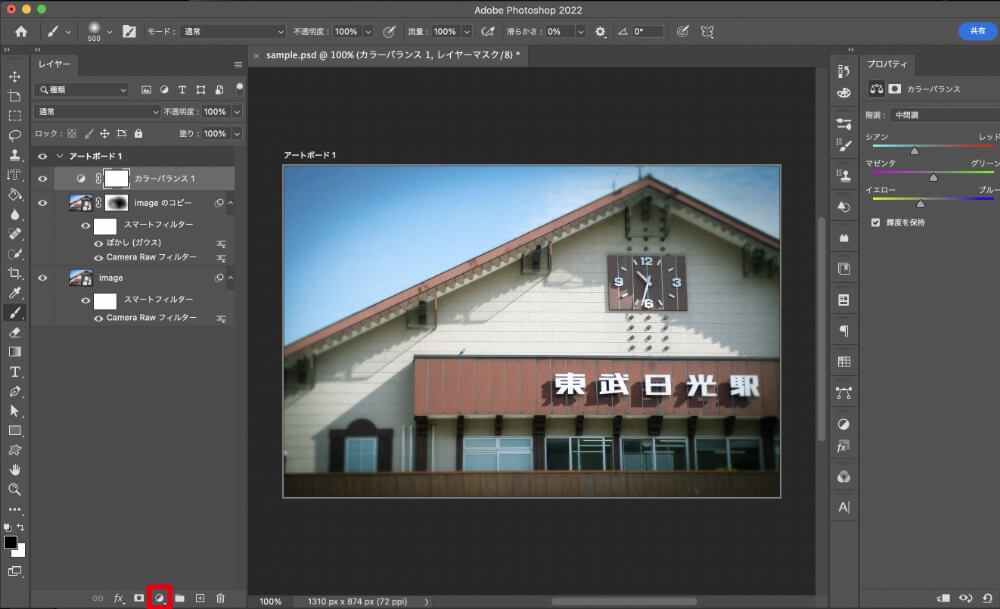
「トーンカーブ」を選択します。

トーンカーブの中間にある二点を動かし、S字のカーブにしていきます。
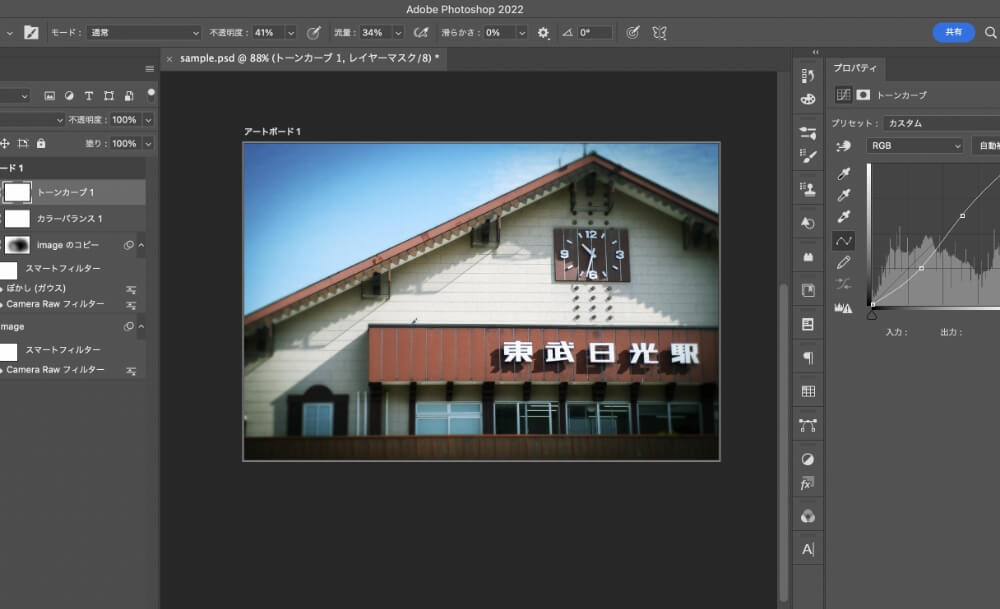
今回は少しだけ上下に動かしました。
これでトイカメラ風の加工が完成しました。
おわりに
今回はトイカメラ風の写真の加工方法を解説しました。ポイントを押さえて加工をすることでレトロでおしゃれな雰囲気の写真になります。ぜひ試してみてくださいね。