


ドットパターンを定義する
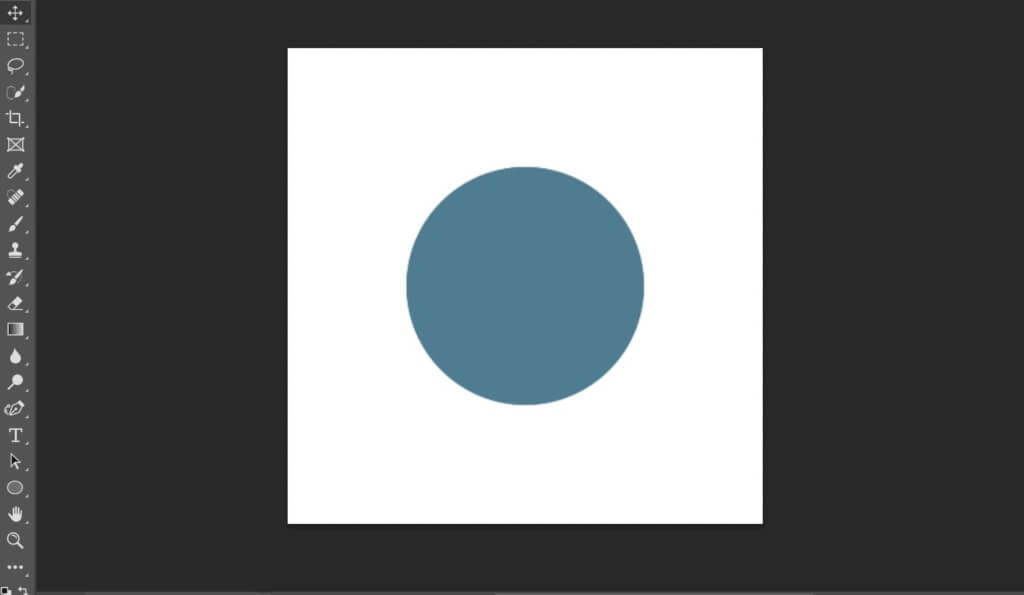
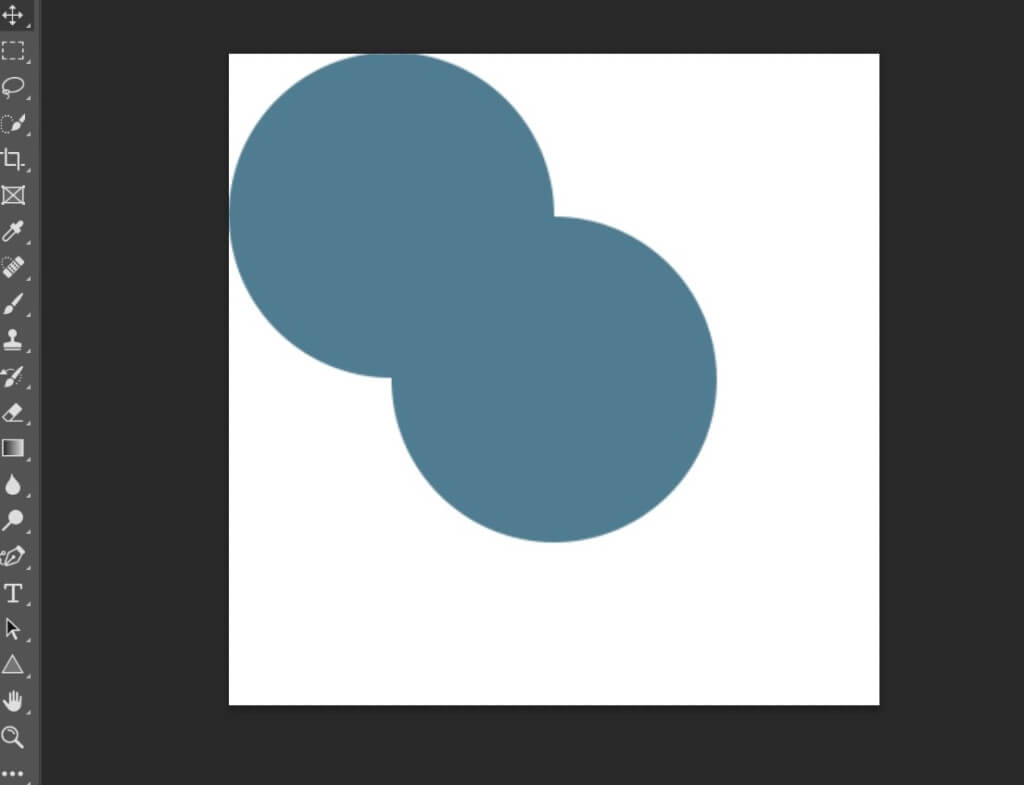
任意の大きさで正方形を作成し、その中央に任意の大きさで正円を描きます。
次に正円をコピーし、正方形の左上端にピッタリと寄せます。
そこから正円の半径分、左と上に移動させます。(ここでは100px)
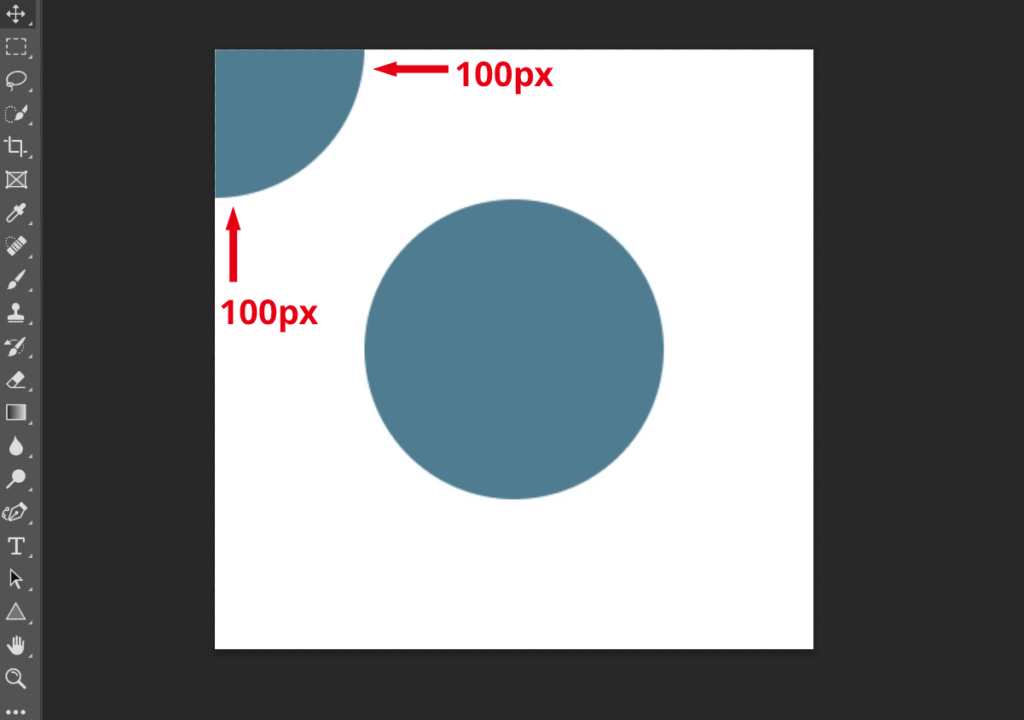
同じように他の3つの角にも正円を作り、それぞれ半径分だけ外側に動かします。
すべて出来上がったら背景レイヤーを非表示にし、WindowsはControl + A、MacはCommand + Aで全体を選択しましょう。
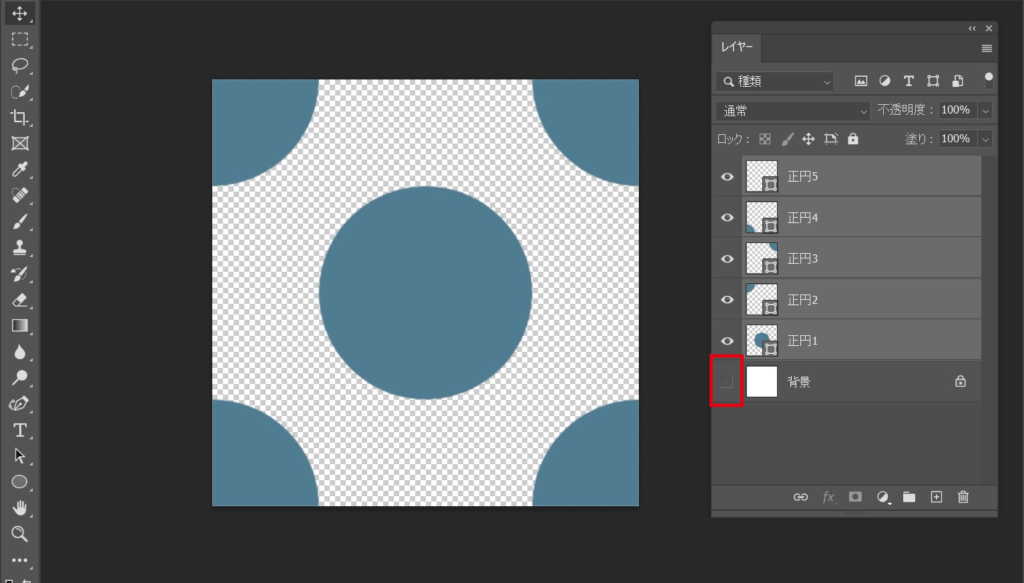
全体を選択したまま、メニューバーの「編集」→「パターンを定義」を選びます。パターン名を付けたらパターン定義の完了です!

好きな範囲にパターンを適用する
それでは定義したパターンを使ってドットパターンを作成してみましょう。
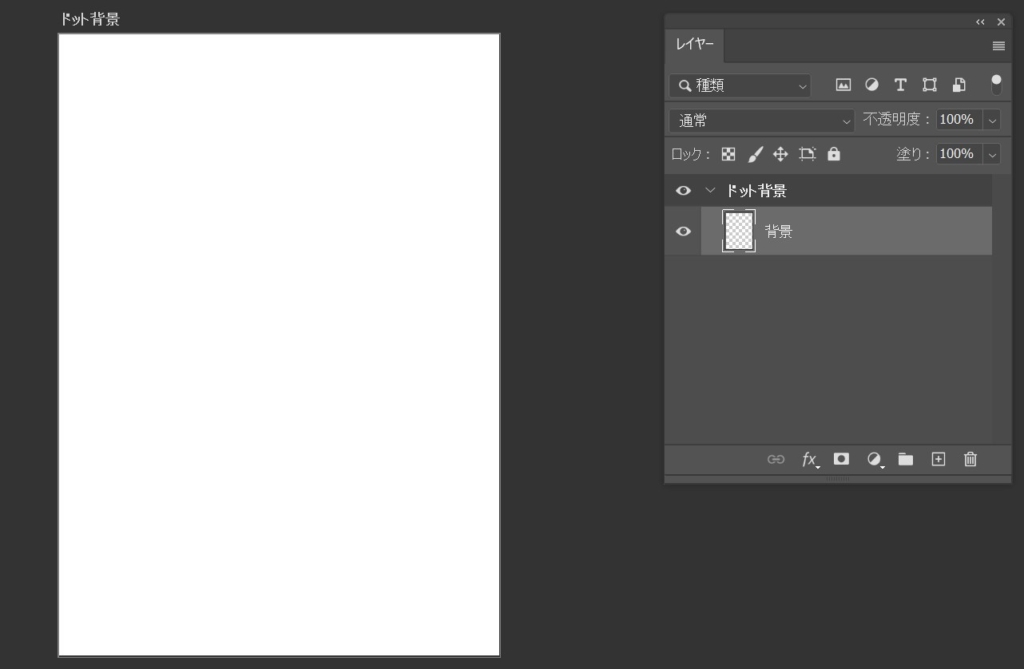
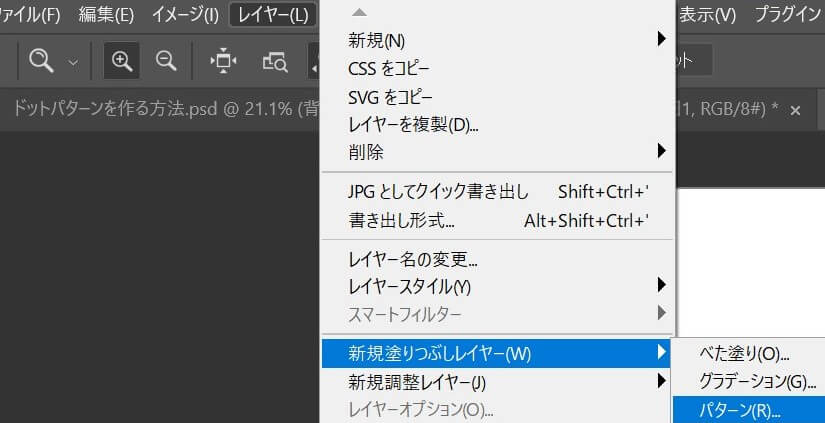
次に背景レイヤーを選んだ状態で「レイヤー」→「新規塗りつぶしレイヤー」→「パターン」を選択します。
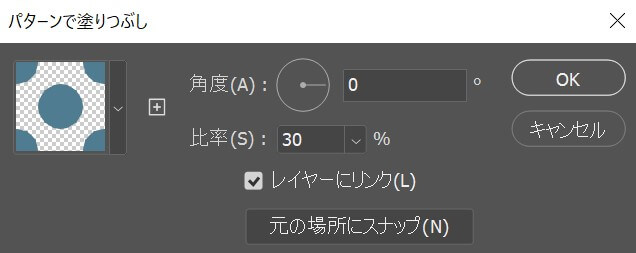
新規レイヤー名を付けたら、パターンの設定を行いましょう。先ほど定義したドットパターンを選択して角度や比率を設定します。
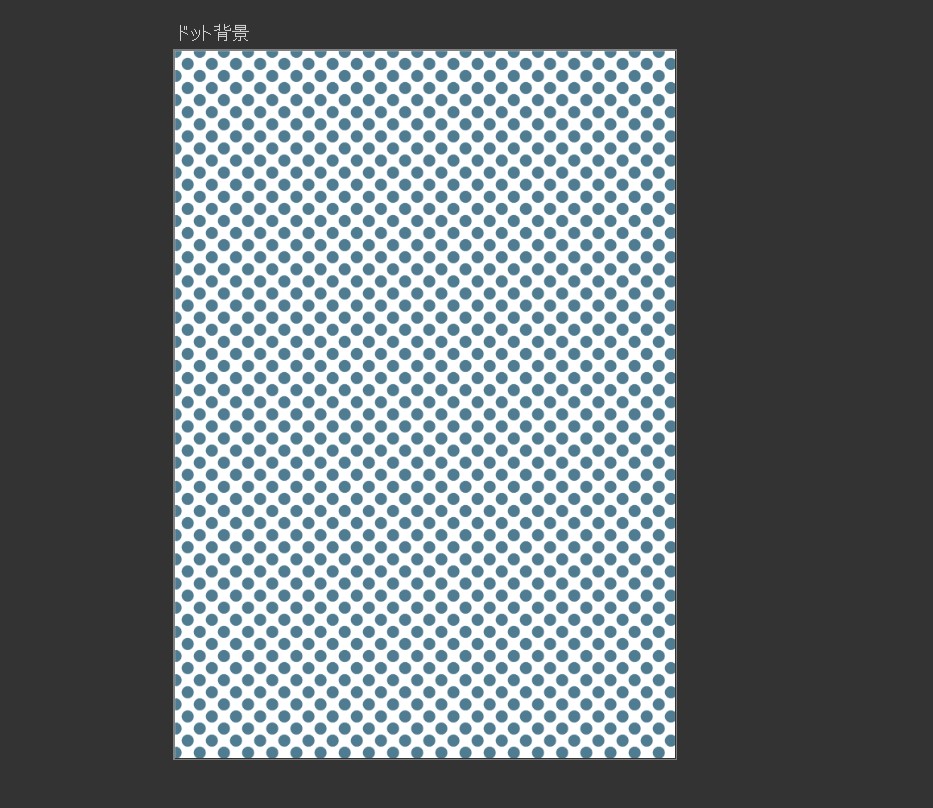
各設定をしてOKを押すと、ドットパターンが出来上がりました!
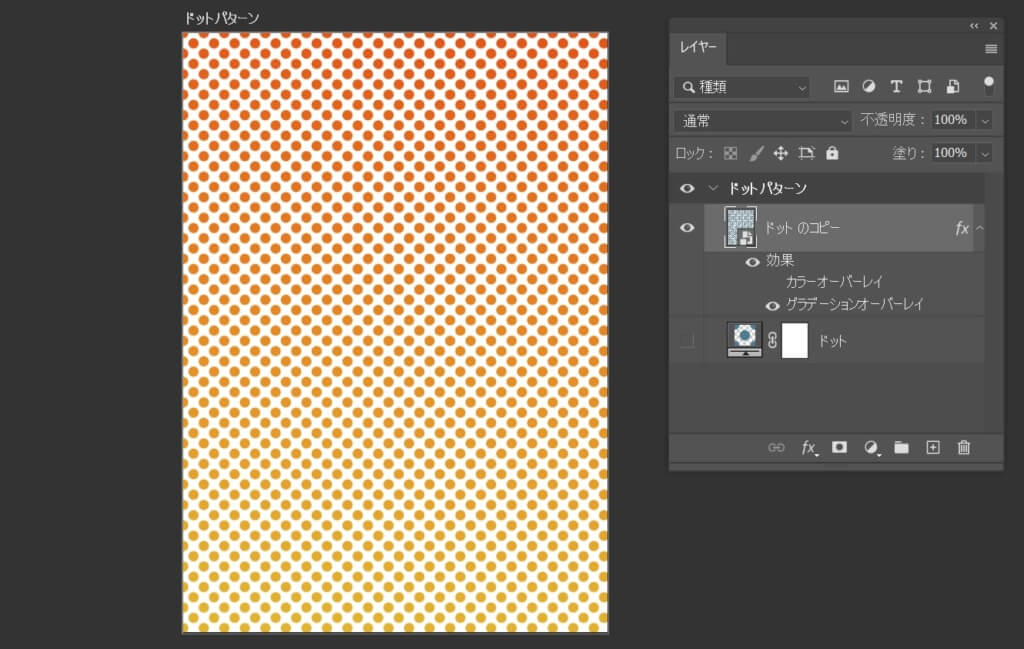
応用①ドットの色を変えてみる
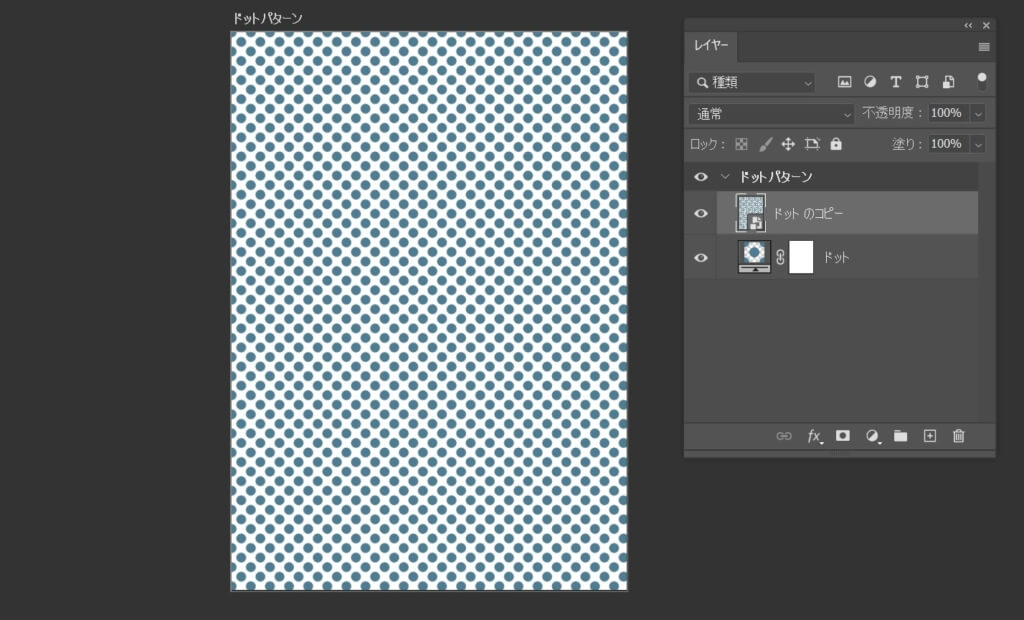
ドットの色を変えたい!という場合にはレイヤーをスマートオブジェクトに変換します。スマートオブジェクトではドットの設定が編集出来なくなってしまうため、コピーで作業をするのがおすすめ。
スマートオブジェクトに変換ができたら、「レイヤースタイルを追加」から「カラーオーバーレイ」を選択。自由に色を変更することができます。

同様に「グラデーションオーバーレイ」からグラデーションを作ることもできます。
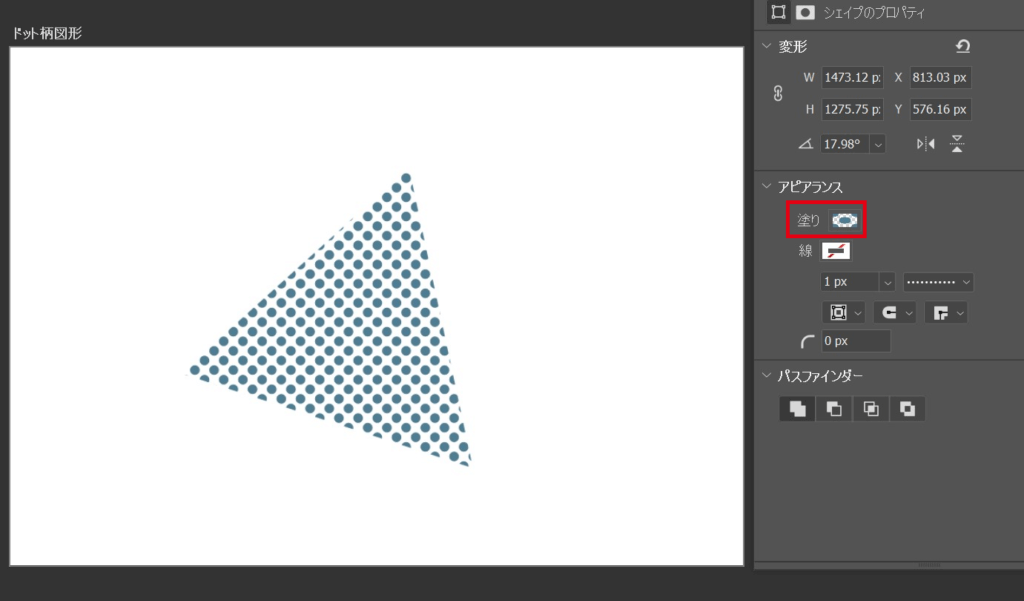
応用②パターンの活用方法
定義したパターンは図形やテキストにも使うことができます。
シェイプであれば「塗り」から簡単にパターンが設定可能。
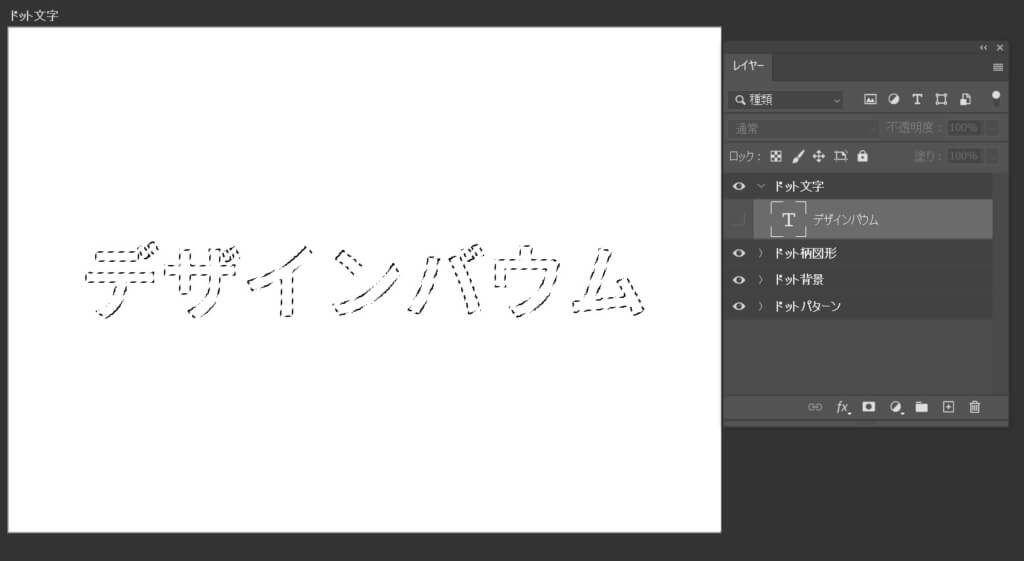
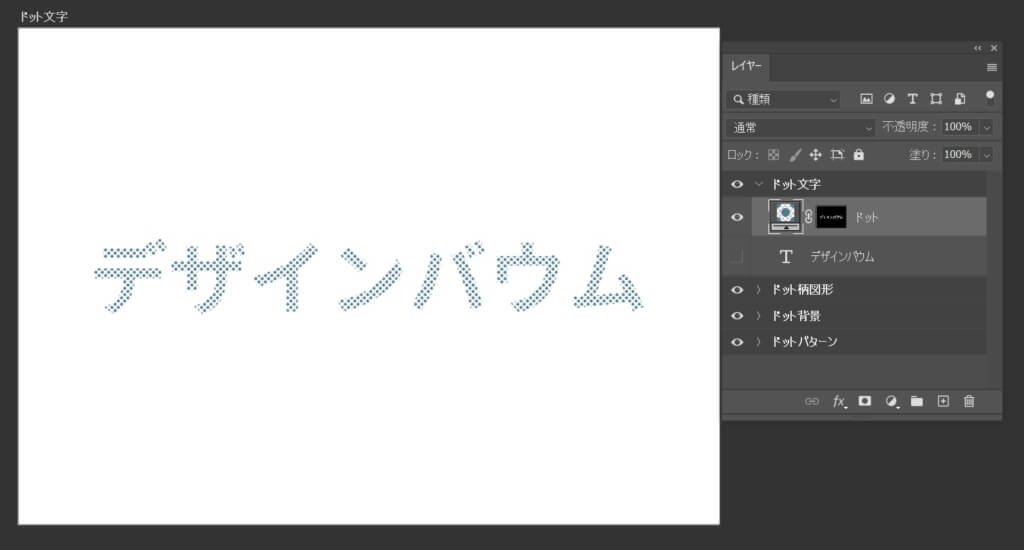
テキストの場合は、テキストレイヤーを選択し「レイヤー」→「新規塗りつぶしレイヤー」→「パターン」でドット柄を反映させることができます。
おわりに
今回はPhotoshopを用いたドットパターンの作り方を解説しました。
パターンを定義しておくと便利ですし、他のパターンにも応用が利くので、ぜひ活用してみてください!